
How to Install a Sliding Glass Door

Quick Answer

Installing a sliding glass door involves preparing a level opening, positioning the frame correctly, securing it step by step, and sealing it properly to ensure smooth operation and long-term performance.

Introduction

A sliding glass door can completely change a space—more light, better views, and a cleaner connection between indoors and outdoors.

But in most cases, problems like poor sliding, gaps, or leaks don’t come from the door itself—they come from the installation.

So instead of just listing steps, here’s a practical way to understand how it should be done.

Basic Tools You’ll Need

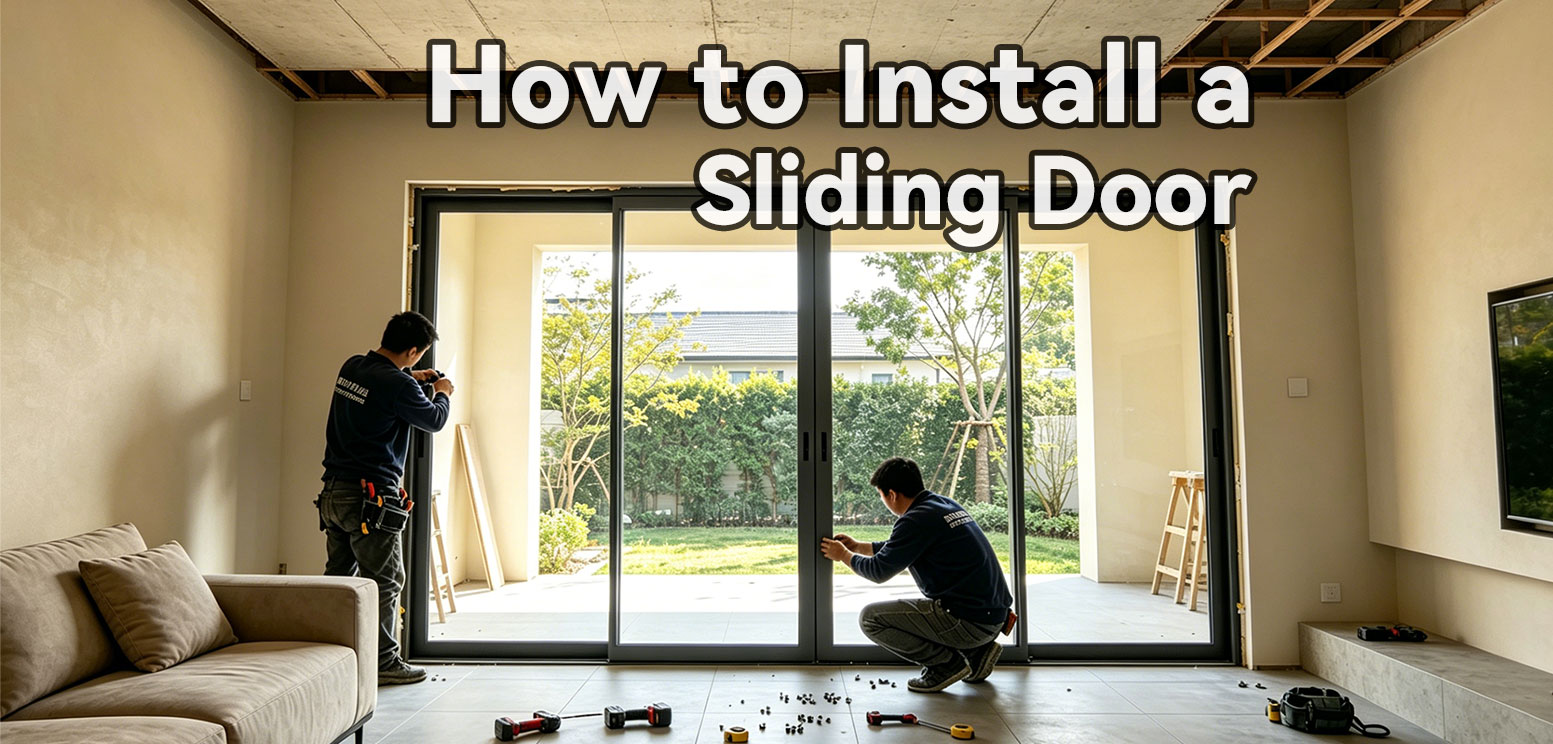
Sliding door installation tools
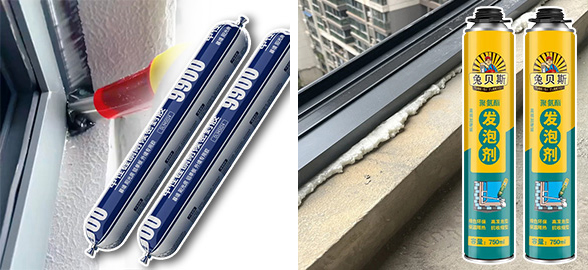
Foam agent and structural adhesive

You don’t need anything unusual, but having the right tools makes a big difference:

  • Drill
  • Level
  • Measuring tape
  • Shims
  • Sealant (silicone)
  • Insulation foam

👉 For larger or heavier systems, professional tools and more than one person are usually required.

Step 1: Make Sure the Opening Is Ready

Before installing anything, check the opening.

It should be:

  • level
  • square
  • structurally solid

👉 If this step is off, the door may never slide or seal properly, no matter how good it is.

Step 2: Prepare and Protect the Opening

This is where long-term performance is decided.
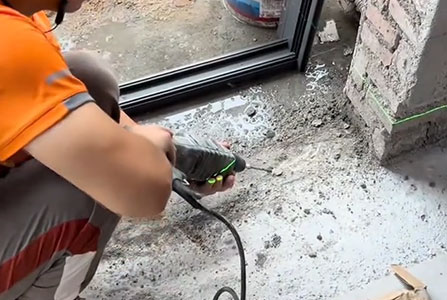
  • Clean dust and debris
  • Fix uneven surfaces
  • Apply waterproofing (especially bottom and sides)

👉 Good sealing here prevents water, air, and noise issues later.

Step 3: Position and Align the Frame

Place the frame into the opening carefully.
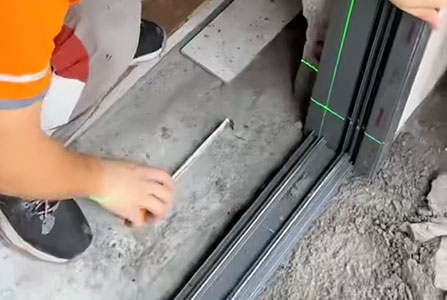
Use shims to adjust until it is:

  • level
  • straight
  • evenly spaced

Then fix it gradually while checking alignment.

👉 Even a small misalignment can affect how the sliding system works.
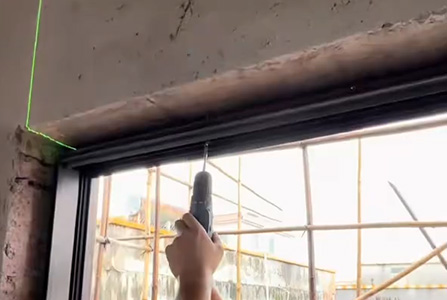
Step 4: Drill mounting holes and install expansion screws

  • Start by drilling pilot holes in the door frame with a twist drill.
  • Finally, use a hammer drill to drill into the concrete.
  • Space mounting screws approximately 600 mm apart.

👉 The key factor in whether a sliding door can resist hurricanes lies in the installation.
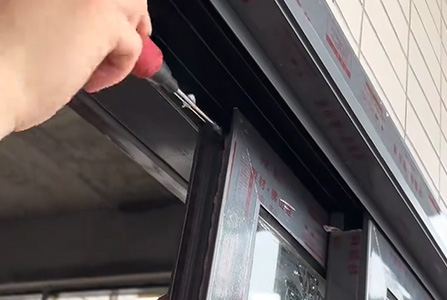
Step 5: Install Panels and Adjust

Once the frame is secure:

  • Install the glass panels
  • Adjust rollers
  • Test sliding movement

👉 The door should move smoothly and feel balanced—not heavy or uneven.
Step 6: Seal and Finish

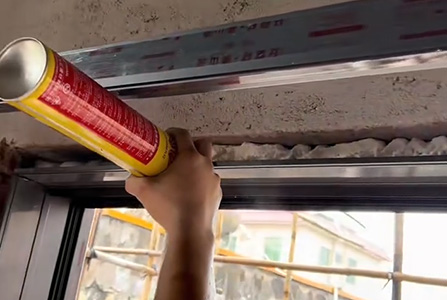
  • Fill gaps with insulation foam
  • Seal edges with silicone
  • Reinstall trims

👉 This step affects insulation, waterproofing, and overall durability.

Common Mistakes

From real projects, these come up often:

  • Rushing measurements
  • Skipping waterproofing
  • Misalignment during installation
  • Not adjusting rollers properly

👉 Most long-term issues come from these—not from the door itself.

Final Thought

Installing a sliding glass door is not just about putting it in place—it’s about making sure it works well every day.

In most cases, the result comes down to three things:

👉 preparation, alignment, and sealing

For standard sizes, this process can be manageable.
But for large or heavy sliding systems, proper installation becomes more technical—and that’s where professional support is usually recommended.

Planning a sliding glass door project?

Whether you need help choosing the right system, checking opening dimensions, or finding a solution for large openings, our team can provide professional recommendations based on your project requirements.

Fill out the form below and we’ll get back to you within 24 hours.

Phone

+86 13077411547

WhatsApp

+86 13077411547

E-mail

info@buildpano.com

Address

Rm 721 Blg 3, No.30 Fenjiang North Rd, Chancheng District, Foshan, China

Socials